

Understanding Exhaust Hood Installation
Exhaust hood installation is a vital aspect of modern kitchen design, ensuring that smoke, steam, grease, and odors are effectively ventilated out of the home. The installation of an exhaust hood not only enhances the comfort of cooking spaces but also plays a crucial role in maintaining air quality, protecting cabinetry from damage, and improving overall kitchen safety. As homeowners increasingly seek to create functional and stylish kitchens, understanding the nuances of exhaust hood installation becomes essential. When exploring options, exhaust hood installation provides comprehensive insights into choosing the right system for your needs.
What is an Exhaust Hood and Why is it Necessary?
At its core, an exhaust hood, also known as a range hood, is designed to capture and remove airborne contaminants generated during cooking. This includes smoke, steam, grease particles, and other volatile compounds. The necessity of an exhaust hood stems from several key functions:
- Ventilation: By effectively ventilating smoke and heat, exhaust hoods help maintain a pleasant cooking environment and enhance indoor air quality.
- Grease Management: Exhaust hoods prevent grease buildup on kitchen surfaces and reduce the risk of kitchen fires.
- Odor Control: They help eliminate unpleasant cooking odors, ensuring your kitchen smells clean and fresh.
- Energy Efficiency: Well-designed exhaust hoods can improve the efficiency of heating and cooling systems by minimizing extra work caused by cooking odors and moisture.
Types of Exhaust Hoods: Finding the Right Fit for Your Home
Choosing the right type of exhaust hood is crucial for ensuring it meets your cooking needs and fits your kitchen’s layout. Here are the primary types of exhaust hoods:
- Wall-Mounted Hoods: Attached to the wall above the range, these hoods are ideal for kitchens with a lot of vertical space.
- Under-Cabinet Hoods: These hoods are installed beneath kitchen cabinets, providing a sleek look while still being effective.
- Island Hoods: Positioned above a kitchen island, these hoods often come in larger sizes and are designed to be visually appealing.
- Ductless Hoods: Designed for homes without external venting, these hoods filter air and recirculate it back into the kitchen.
- Downdraft Hoods: Integrated directly into the cooking surface, downdraft hoods pull air down and out, making them suitable for kitchens with limited overhead space.
Common Challenges Homeowners Face During Installation
While installing an exhaust hood can seem straightforward, several challenges may arise during the process:
- Inadequate Space: Many kitchens may not accommodate standard hood sizes, requiring custom solutions or modifications.
- Electrical and Ducting Issues: Proper placement for ductwork or electrical configurations can complicate installations, especially in older homes.
- Building Codes: Compliance with local building codes can add another layer of complexity, necessitating permits or professional assistance.
- Cost Variability: Installation costs can vary significantly based on the type of hood, the complexity of the installation, and regional labor rates.
Essential Tools for Exhaust Hood Installation
Must-Have Tools for DIY Installation
For those considering a DIY exhaust hood installation, having the right tools is essential to ensure a smooth and successful process. The necessary tools typically include:
- Drill: Needed for making holes for mounting brackets and ductwork.
- Screwdrivers: Both flathead and Phillips-head to secure the hood and connect wiring.
- Level: To ensure the hood is installed evenly for optimal performance.
- Tape Measure: Essential for accurate measurements when positioning the hood.
- Duct Tape and Sealant: Used to ensure airtight connections between ducts and the hood.
The Importance of Professional Equipment for Complexity
For more complex installations, especially in commercial settings or when upgrading older systems, professional-grade tools may be required. This can include:
- Duct Lifting Equipment: Necessary for heavy ductwork installations.
- Electrical Testers: To ensure safe and effective electrical connections.
- Welding Tools: If extensive duct modifications or custom ductwork are needed.
Cost-Effective Tool Alternatives for Home Installers
Homeowners on a budget can consider renting tools from local hardware stores or borrowing from friends to reduce costs. This approach allows DIY enthusiasts to access high-quality equipment without the financial investment of purchasing seldom-used tools.
Steps for Successful Exhaust Hood Installation
Preparation: Verifying Measurements and Compatibility
Before diving into the installation process, it’s crucial to prepare adequately. Here are the key steps:
- Measure the Space: Ensure the area above the stove has enough clearance for the selected hood model.
- Check Compatibility: Verify that the exhaust hood is compatible with the existing ductwork and electrical systems.
- Gather Necessary Permits: If required, obtain building permits before starting the installation.
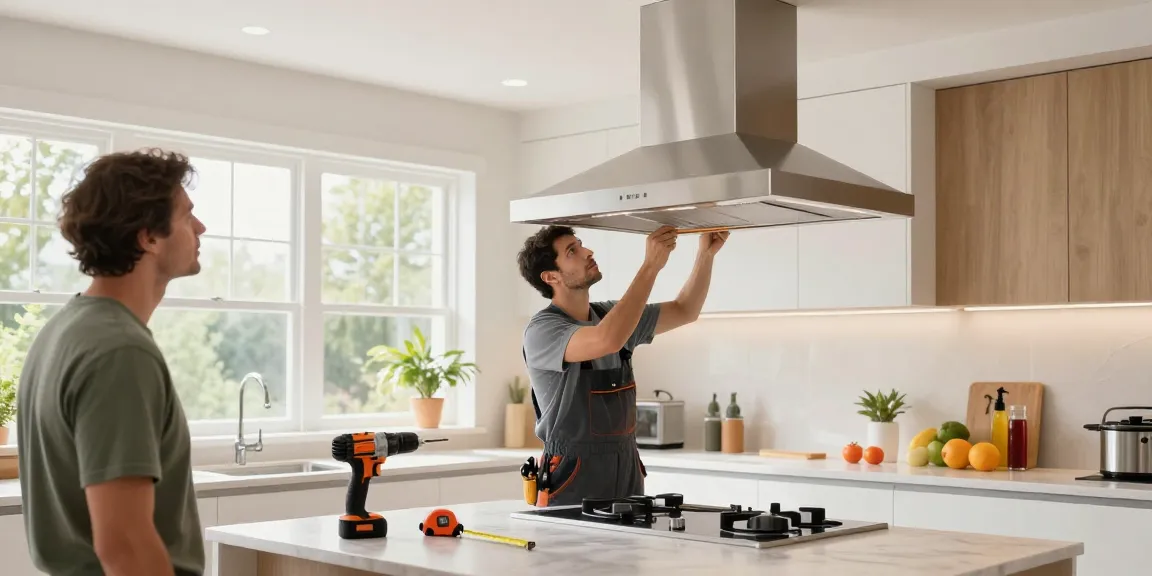
Installation Process: Step-by-Step Guide
Once preparations are complete, follow these steps for installation:
- Turn Off Power: Always switch off the power supply before working on electrical components.
- Assemble the Hood: If necessary, put together the components of the exhaust hood according to the manufacturer’s instructions.
- Install the Mounting Bracket: Secure the mounting bracket to the wall or under the cabinet using a level to ensure proper alignment.
- Mount the Hood: Lift the hood onto the bracket and secure it using screws as needed.
- Connect Electrical Wiring: Follow local electrical codes to connect the wiring of the hood to the power supply.
- Attach Ductwork: Connect the exhaust duct to the hood, sealing all joints to prevent air leaks.
- Test the Hood: Restore power and test the exhaust fan to ensure proper operation.
Common Mistakes to Avoid During Installation
Avoiding pitfalls during installation can save time and ensure safety. Common mistakes include:
- Improper measurements, leading to ill-fitting hoods.
- Neglecting local building codes and safety regulations.
- Forgetting to seal duct joints properly, which can lead to inefficient ventilation.
Maintenance Tips for Exhaust Hoods
Regular Cleaning and Care Guidelines
To keep your exhaust hood functioning optimally, regular maintenance is essential. Recommendations include:
- Clean Filters Regularly: Depending on usage, filter cleaning should occur every 1-3 months.
- Wipe Down Surfaces: Use non-abrasive cleaners to remove grease and stains from the hood’s exterior.
- Inspect for Damage: Regularly check the ductwork and connections for any signs of wear or damage.
Signs Your Exhaust Hood Needs Professional Help
Be aware of indicators that your exhaust hood may require professional attention, such as:
- Reduced suction power, leading to poor ventilation.
- Noisy operation, which may indicate mechanical issues.
- Persistent odors that do not dissipate after using the hood.
Upgrading Your Exhaust Hood: When and Why
Consider upgrading your exhaust hood when:
- You undergo a significant kitchen remodel or upgrade appliances.
- Your current hood is more than 10 years old and lacks modern features.
- Your cooking habits have changed, necessitating a more powerful ventilation solution.
Future Trends in Exhaust Hood Technology
Smart Exhaust Hoods: The Rise of Automation in Kitchens
As technology advances, smart exhaust hoods equipped with sensors and connectivity features are becoming increasingly popular. These devices offer functionalities like:
- Automatic fan adjustments based on cooking activities.
- Integration with smart home systems for enhanced control.
- Alerts for maintenance needs like filter changes.
Eco-Friendly Features to Look for in New Installations
With growing awareness of environmental issues, many manufacturers are introducing eco-friendly exhaust hoods. Look for features such as:
- Energy-efficient motors that consume less electricity.
- Recyclable materials used in construction.
- Low-noise designs that minimize sound pollution.
Predicting Trends for 2026 and Beyond in Kitchen Installations
As we look ahead, we can anticipate several trends in exhaust hood installations:
- Increased demand for customizable designs tailored to individual kitchen aesthetics.
- Advancements in filtration technology, improving air quality even further.
- Greater emphasis on ease of installation, with more manufacturers providing user-friendly kits.
Can I install a vent hood myself?
For those experienced with home improvement projects, installing a vent hood is often manageable. However, for best results, especially when ductwork is involved, consulting with professionals can ensure safety and compliance with building codes.
How much does it cost to install a restaurant exhaust hood?
Understanding commercial kitchen hood installation costs can feel overwhelming. Generally, basic installations range from $950 to $1,200 per linear foot, with complete turnkey systems averaging $4,000 to $5,000 per installation.
What’s a good rate of pay for installing a vent hood?
For homeowners, installation costs can vary widely based on factors like hood type and complexity. On average, homeowners can expect to pay between $400 and $1,500, with the national average around $750.